CLICK HERE FOR FREE BLOGGER TEMPLATES, LINK BUTTONS AND MORE! »

Sunday, August 29, 2010

Stuffed Green Peppers


I fell in love with stuffed green peppers the first time my sister Jamie made them for me a few years ago. I have been on a hunt for the recipe that fits my style perfectly and I found one on Allrecipes.com and made it my own. 
Stuffed Green Peppers
adapted from Allrecipes.com via Samantha M. Munson

3 green bell peppers (recipe calls for 6 whole bell peppers, but I like my peppers cut in half lengthwise and stuffed well! It was just right imo!)
1 pound ground beef
1/2 an onion
1-2 cloves of minced garlic
1 (14.5 ounce) can diced tomatoes
2 tsp Worcestershire sauce
1/2 cup uncooked white rice (if using brown, pre cook rice))
1/2 cup beef broth (or water)
salt and pepper to taste
1 can corn (optional)
1-2 cup shredded cheese (I usually use 2 cups, and Colby jack cause that's what we always have!)
2 (10.75 oz) cans condensed tomato soup
water as needed

Bring a large pot of salted water to a boil. Cut the tops off the peppers and remove the seeds. Cut peppers in half lengthwise. Cook peppers in boiling water for 5 minutes; drain. Sprinkle salt inside each pepper, and set aside.

In a large skillet, saute beef and onions for 5 minutes, or until beef is browned. Drain off excess fat. Season with salt and pepper. Add garlic to beef and onions and saute for a minute or so. Stir in the tomatoes, rice, 1/2 cup beef broth, and Worcestershire sauce. Cover, and simmer for 15 minutes, or until rice is tender. Remove from heat and stir in the corn.

Preheat oven to 350 degrees. Place peppers open side up in a casserole dish (fits perfect in a 9x13). Sprinkle cheese on the bottom of each pepper. Stuff each pepper with the beef and rice mixture and top with rest of the cheese. In a bowl combine the cans of tomato soup and just enough water to make the soup a gravy consistency (I did half a can or so). Pour tomato soup over the peppers. I use all the soup because we like the sauce to put over our rice.

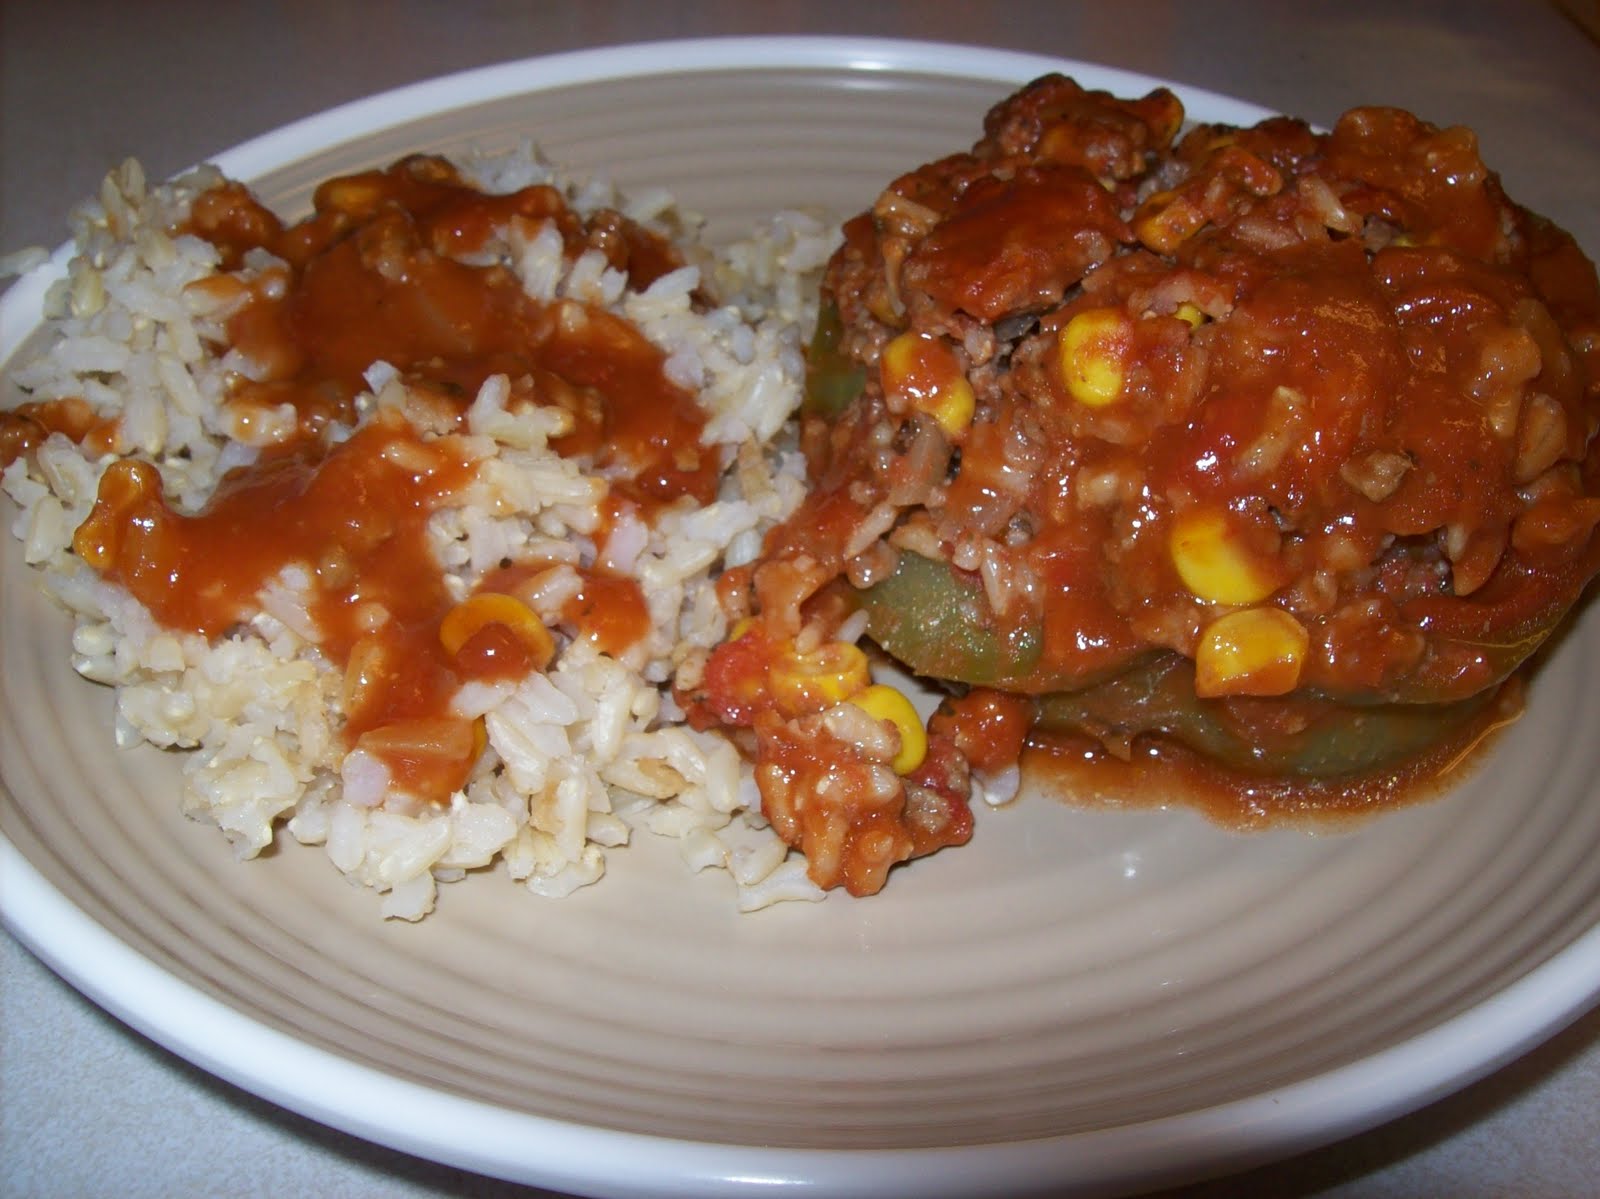
Bake covered for 25 to 35 minutes, until heated through and cheese is melted and bubbly. Serve with rice!

***The last time I made it, I doubled the recipe and froze half of the peppers. It worked out great, and they cooked perfectly! I just lowered the temp. to 325 degrees, cooked for 30 min., then added the tomato soup on top, then cooked for another 30 min.or so. I might adjust the cooking time a little next time, I don't think they needed that long.

So yummy!
If you are wondering why there is only 4, it's because I forgot to take a picture until we had already eaten....oops! :) So it looked funny in a 9x13, I switched them to an 8x8....all for a silly picture! 

Saturday, August 28, 2010

Black Bean and Pepper Quesadillas


A couple of months ago I had emailed this recipe to my sisters to try because I liked it so much. I was making it again the other night and I had to laugh cause my sister texted me and said "We tried those quesadillas tonight and I just wanted to tell you how good they were!" It's funny because we both made them the same night, with plans to blog about it the next day! Great minds think alike right? :) She did a couple different things, which I thought were great, so I'll add those in.

This is the second time I have made this yummy dinner and it certainly won't be the last. I used to think I didn't like black beans, but because of this recipe I am now a fan! This is so simple, quick, and DELICIOUS! 

First, mash your can of rinsed, black beans...

Then add in a cup of cheese (a little extra never hurt), your spices: onion powder, garlic powder, salt, cumin, chili powder, your peppers, and salsa...that's it!

Stir it all together...

Spread it on half a flour tortilla, whole wheat, multigrain, whatever you like...

Grill it up! I spread a little butter on each side to brown it and crisp it up nice...

I like to eat this with guacomle as well, but didn't have any today, so just picture it next to the salsa! Also I think it would be good with a side of spanish/mexican rice. Maybe next time. :) 


***My sister Callie added beef chunks and tomatoes to hers as well. She used the quesadilla as a taco, so she folded it and put the beef chunks, tomatoes, avocado, sour cream, etc on the inside. (Think double decker taco at Taco Bell!) I thought it was pretty creative and sounded tasty!

Black Bean and Pepper Quesadilla

1 can (19 oz) black beans, rinsed
1 whole chopped bell pepper (red, orange, yellow-or a combo, I also precooked them in the microwave)
1 cup grated cheddar cheese (I used colby jack)
1/2 cup salsa
1/2 tsp chili powder
1/2 tsp cumin
1/2 tsp garlic powder
1/2 tsp onion powder
1/4 tsp salt
6 large flour tortillas

Mash up your black beans. Stir in peppers, cheese, salsa, and spices until fully combined. Spread onto one half of a tortilla, then fold in half. Cook the quesadillas on a large non-stick skillet or electric frying pan on medium heat until golden brown, then flip and repeat on the other side. Serve with sour cream, salsa, and/or guacamole.


Happy eating! I promise your family will love this one!!! 

Friday, August 27, 2010

Nutella Rice Krispie Treats


Rice Krispie Treats are such a comfort food for me. They remind me of my childhood and they are still one of my favorite treats! I love the crispy, chewiness of it all...yum! It had been much too long since I last made them and I came across this Nutella variation. I just so happened to have a jar, so I had to give them a whirl. They were great! I took them to a YW/YM activity and they are still asking me about those Nutella Rice Krispies! 

Melt your butter...

Add the mallows...


Once the marshmallows have melted, add the Nutella...

Take it off the heat and stir in the Rice Krispies...

Voila!

Nutella Rice Krispies
adapted from Plain Chicken

3 T butter
1 (10 oz) pkg marshmallows
6 cups Rice Krispies
2/3 cup Nutella

In a large pot, melt butter and add marshmallows. Once melted, stir in Nutella. Add Rice Krispies and stir until thoroughly combined. Qucikly spread into a 9x13 pan lightly sprayed with cooking spray. Allow to cool completely.


My bestest taste tester gave them a try...

Well, what do you think?

A success!


Wednesday, August 25, 2010

5 Ingredient Peanut Butter Chocolate Chip Cookies

If you like peanut butter M&Ms you'll LOVE these cookies!!! I have been in the mood for a peanut butter treat lately and I happened to come across these yummy guys on one of my favorite food blogs The Girl Who Ate Everything. So good and easy and wonderful! I like my cookies soft and chewy, so the texture was perfect for me! They not only have a great texture, but taste amazing too. You can't go wrong with peanut butter and milk chocolate right? Really the only way to eat peanut butter! However, if you don't like chocolate chips or M&Ms in your peanut butter cookies, like my husband, then they'd still be fantastic without!

I meant to take more pictures during the process of making the cookies and I even had my camera out on the counter, but it totally slipped my mind, until the last batch of cookies were waiting to go in the oven.


I know you all have these 5 ingredients in your pantry, so go make them right now! It will literally take you 25 minutes from start to finish! Did I forget to mention these cookies have no flour or butter in them? That's right, NONE! Only 5 ingredients? Less calories and fat? Delicious? Do you need another reason to make these? :)

5 Ingredient Peanut Butter Cookies


1 cup creamy peanut butter
1 cup firmly packed light brown sugar
1 large egg
1 tsp baking soda
½ cup milk chocolate chips (I only had milk chocolate M&Ms, so I used those)


Preheat oven to 350 degrees. Mix all ingredients except chocolate chips. When blended, mix in the chocolate chips. Using your fingers, form 1 1/2 inch balls and place onto an un-greased cookie sheet. (You can flatten them a little if you want. I tried it both ways and either way works out fine.) Bake for 9 minutes. Let the cookies sit on the cookies sheet for about 30 seconds to 1 minute before letting cool on a wire rack. They are a little delicate until completely cooled. Makes 2 dozen cookies.
*If you are cooking on a dark colored pan, then decrease the oven to 325 degrees. I made a couple dozen the day before at 350 and they were too overdone. This time I watched them more closely. I like to take them out after I see the nice cracking on the top of the cookie.


**I love to eat mine dipped in frozen yogurt or ice cream, or make an ice cream sandwich with 2 cookies...Mmmmmm!
Happy Eating!!!